Deck Staining Marvels: Transforming Your Outdoor Oasis
Deck Staining Marvels: Transforming Your Outdoor Oasis
Blog Article
Do It Yourself Fencing Discoloration: Step-by-Step Directions to Renew Your Outdoor Room
Are you aiming to take a breath brand-new life into your outdoor area? One effective way to rejuvenate your fencing and enhance the aesthetic charm of your residential property is by tarnishing it. DIY Fence Discoloration: Step-by-Step Recommendations to Revitalize Your Outdoor Space gives you with a detailed guide to attaining professional-looking outcomes by yourself. This step-by-step overview will certainly walk you with the entire process, from gathering the essential materials to preserving and securing your newly tarnished fence. By complying with these instructions, you can change your weathered and plain fencing into a stunning focal point that includes value to your home. State goodbye to an uninspired outside room and hi to a dynamic and refreshed atmosphere. Prepare yourself to take your do it yourself skills to the next degree with our guide to fence discoloration.
Collect the Necessary Materials
To gather the needed materials for do it yourself fencing discoloration, begin by constructing an extensive checklist of items needed for the project. This listing ought to consist of the following things:
Tarnish: Choose a top notch stain that is especially designed for outside use. Think about variables such as sturdiness, weather, and color resistance when selecting the discolor for your fence.
Rollers or brushes: Depending on the dimension and appearance of your fencing, you might need both brushes and rollers. Brushes are optimal for reaching into limited edges and holes, while rollers are extra reliable for bigger, level locations.
Drop Cloths or Tarps: Safeguard your surrounding locations from accidental spills or splatters by covering them with ground cloth or tarps. This will aid stop any damages to your yard, plants, or other outdoor furniture.
Cleansing Materials: Before staining your fence, it's crucial to clean it completely. Gather items such as a power washer, scrub brush, and a mild cleaning agent to get rid of any kind of dirt, gunk, or debris.
Security Devices: Don't forget to focus on safety and security while dealing with your fence. Wear safety safety glasses, handwear covers, and a mask to protect yourself from any type of potential dangers, such as fumes or chemicals.
Prepare the Fencing for Staining
To prepare the fence for discoloration, thoroughly clean the surface area using a power washing machine, scrub brush, and light cleaning agent to get rid of any kind of particles, grime, or dust. This action is important to ensure that the discolor sticks appropriately to the fencing and provides a smooth and even finish.
Begin by utilizing a power washer to eliminate any kind of loosened dust or debris from the fencing. Establish the pressure to a moderate degree to stay clear of damaging the timber (deck staining nashville tn). Relocate the power washing machine in a sweeping activity, working inside out, to ensure complete cleaning
Next, utilize a scrub brush and light detergent to scrub the fencing. This will certainly help eliminate any kind of remaining dirt or gunk that the power washing machine may have missed out on. Operate in little areas, applying gentle stress to avoid damaging the timber. Wash the fencing completely with water to remove any type of detergent residue.
After cleansing, enable the fencing to dry entirely before continuing with the discoloration process. This is crucial to guarantee that the tarnish is taken in correctly by the timber. Depending upon the climate conditions, this may take anywhere from a couple of hours to a number of days.
Apply the Stain to the Fence
To begin the staining process, carefully apply the stain to the prepared fence utilizing a sprayer, roller, or brush, making certain also insurance coverage and smooth application. This action is crucial in achieving a professional-looking finish and boosting the durability of your fencing.
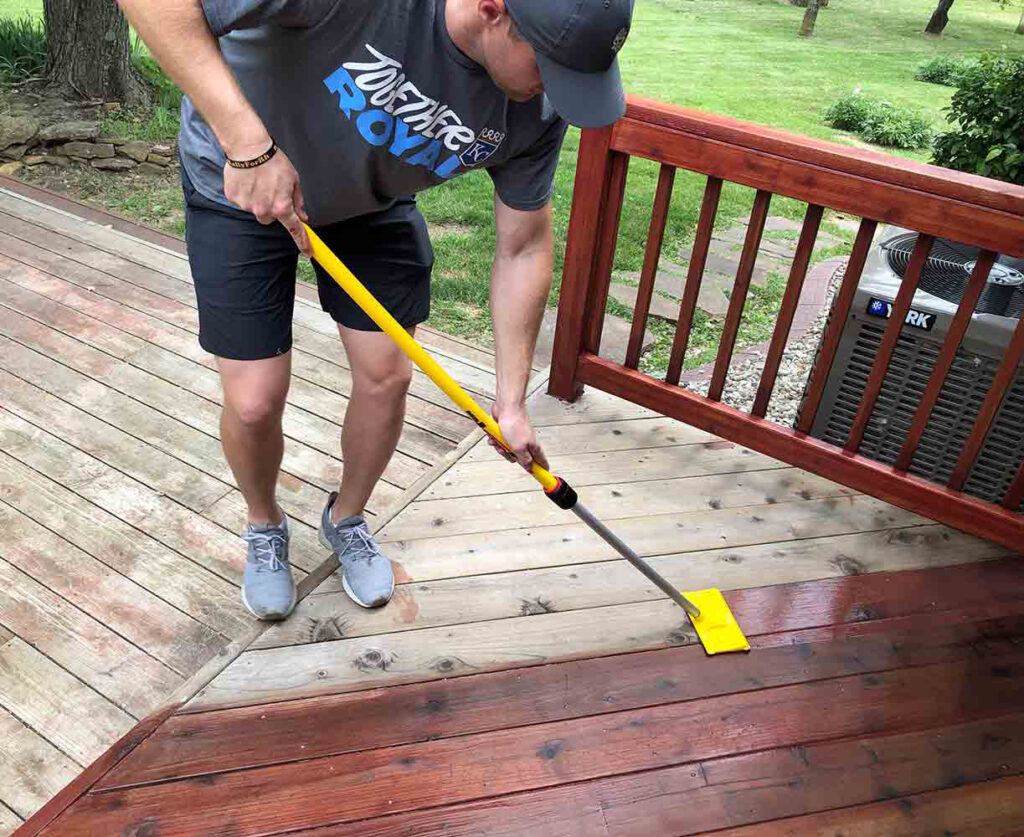
If you choose to utilize a roller, pick one with a tool nap for ideal tarnish absorption. Pour the discolor right into a roller tray and roll the roller backward and forward to saturate it equally. Start at the top of the fencing and roll the discolor onto the surface area, overlapping each stroke somewhat for constant coverage.
For larger locations or to speed up the process, a sprayer can be utilized. Fill the sprayer with the tarnish according to the maker's guidelines and change the nozzle for a fine haze or spray pattern. Hold the sprayer around 6-8 inches far from the fencing and apply the discolor in a sweeping movement, moving back and forth and top to base.
No matter of the application approach picked, take treatment to stay clear of drips, runs, or merging of the tarnish. Job carefully and methodically, guaranteeing that each section obtains adequate protection. Once the tarnish has been used, enable it to completely dry completely according to the producer's advised drying time before using a 2nd layer if desired.
Allow the Discoloration Dry and Treatment
After applying the discolor to the fence, it is vital to permit it to completely dry and remedy completely before waging any kind of further steps. Allowing the stain to dry and treatment ensures that it sticks effectively to the wood surface, giving long-lasting protection and a lovely coating.
To promote appropriate drying out, it is recommended to leave the fence unblemished and avoid any call with the stained surface. This implies avoiding leaning items versus the fencing or brushing versus it. Doing so can potentially disrupt the result and tarnish in an irregular surface.
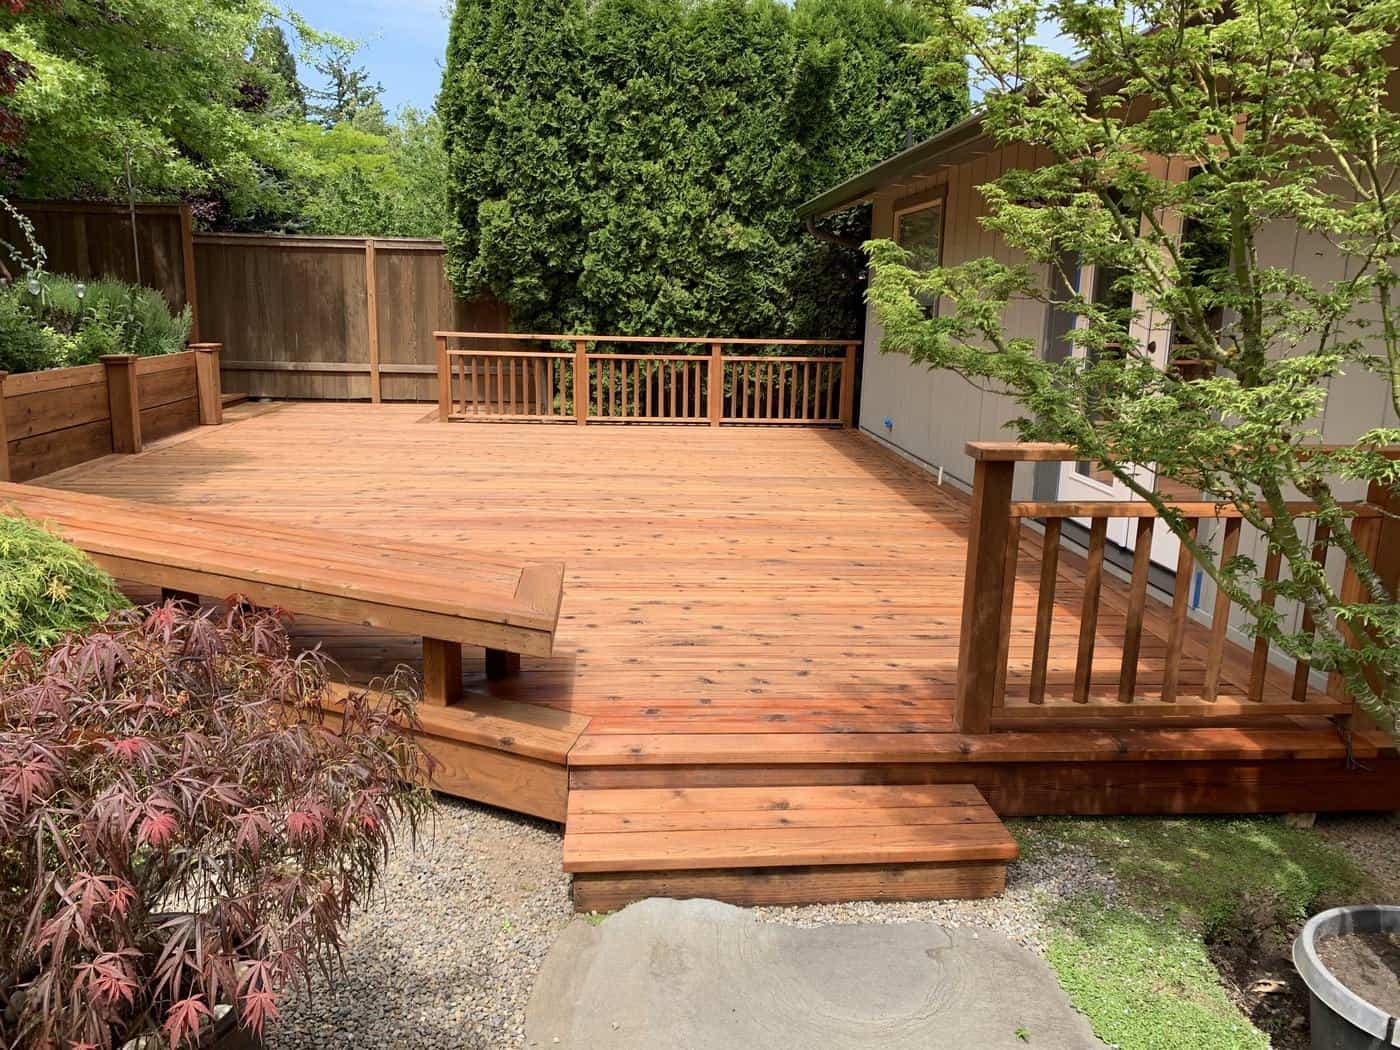
Once the tarnish has dried entirely, it is necessary to enable it to cure. Curing is the process in which the discolor fully hardens and collections, providing maximum longevity and defense. This typically takes about 2 to 3 weeks, depending on the kind of stain made use of. During this time, it is suggested to prevent any tasks that may trigger damage to the newly stained fencing, such as hanging designs or leaning heavy objects versus it.
Maintain and Secure Your Recently Tarnished Fencing
On a regular basis check and preserve your freshly stained fencing to guarantee its lasting elegance and protection - fence staining and sealing. While the staining procedure improves the appearance and longevity of the fence, it is necessary to take correct like protect its qualities with time. Right here are some ideas to maintain and protect your recently discolored fencing
To start with, regularly inspect your fence for any kind of indicators of damages or wear. Search for fractures, peeling, or staining, as these can suggest issues that require to be addressed without delay. Take instant action to protect against more damages. if you observe any problems.
Following, keep your fence clean by on a regular basis removing dust, particles, and discolorations. Make use of a soft brush and a light cleaning agent or sponge to delicately scrub the surface area. Avoid making use of severe chemicals or unpleasant materials that may harm the stain.
Furthermore, cut any greenery that expands near the fencing to avoid it from scrubing versus the surface, which can cause scrapes or harm the stain. It is likewise essential to ensure proper drain around the fencing to stop water from pooling and triggering rot or decay.
Lastly, take into consideration applying a safety sealer or topcoat to give an additional layer of protection against the elements. This can assist prolong the life of the preserve the fencing and stain's elegance.
Conclusion
To conclude, by following these detailed guidelines, you can rejuvenate your exterior space via DIY fence discoloration. Gathering the essential materials, preparing the fence, applying the stain, and permitting it to dry and cure are crucial for achieving a beautifully discolored fence. Furthermore, keeping and shielding your newly stained fence will help it last much longer and remain to boost your exterior area.
Usage long, even strokes to spread out the discolor uniformly, making sure to cover all surface areas, consisting of the tops and bottoms of the fence boards.
Hold the sprayer approximately 6-8 inches away from the fencing and use the discolor in a sweeping motion, relocating from side to side and top to base.
To advertise appropriate drying, it is recommended to leave the fencing unblemished and prevent any type of contact with the stained surface. Gathering the needed products, preparing the fence, applying the stain, and allowing it to dry and remedy are essential for achieving a beautifully stained fencing. In addition, preserving and shielding your newly stained fencing will help it last longer and proceed to improve your exterior location.
Report this page